What is Ceramic Tile Leveling and Why Is It Important?
When it comes to tile installation, achieving a smooth, professional finish can be challenging. Uneven surfaces, misalignment, and tile lippage are common problems. That’s where a ceramic tile leveling system comes into play. This simple yet effective solution ensures perfectly aligned tiles, making your floors and walls look flawless.
Whether you’re a professional installer or a DIY enthusiast, understanding how a tile leveling system works can save you time, effort, and frustration.
What is Ceramic Tile Leveling?
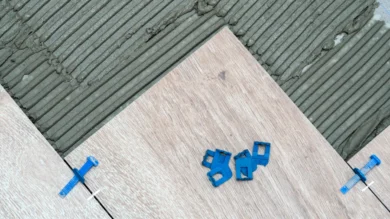
Ceramic tile leveling refers to the use of specialized tools to ensure that tiles are laid flat and evenly during installation. These systems prevent lippage—a term used for height differences between adjacent tiles—by holding the tiles in place while the adhesive sets.
Key Components of a Tile Leveling System:
1.Clips: Placed between tiles to maintain equal spacing and alignment.
2.Wedges: Inserted into the clips to apply pressure and level the tiles.
3.Pliers (optional): Used to tighten the wedges and clips for precise leveling.
Why Should You Use a Tile Leveling System?
Using a tile leveling system offers numerous benefits, including:
•Perfect Alignment: Eliminates uneven surfaces and tile lippage.
•Time-Saving: Speeds up the installation process with fewer corrections needed.
•Professional Finish: Ensures a smooth, high-quality result.
•User-Friendly: Suitable for both professionals and beginners.
Whether you’re working on large floor tiles or delicate wall ceramics, a leveling system simplifies the process and guarantees superior results.
How to Use a Tile Leveling System Step-by-Step
Here’s a simple guide to using a ceramic tile leveling system:
1.Step 1: Spread the Adhesive
Apply tile adhesive evenly on the prepared surface.
2.Step 2: Place the Clips
Insert the clips under the edges of the tiles as you lay them down.
3.Step 3: Insert the Wedges
Slide the wedges into the clips and tighten them until the tiles are level.
4.Step 4: Allow the Adhesive to Set
Let the adhesive dry fully before removing the clips and wedges.
5.Step 5: Remove and Finish
Break off the clips at the base and remove the wedges. Clean the surface for a polished look.

Tips for a Successful Ceramic Tile Installation
•Choose the Right System: Select a leveling system that matches your tile size and thickness.
•Work in Small Sections: This prevents the adhesive from drying too quickly.
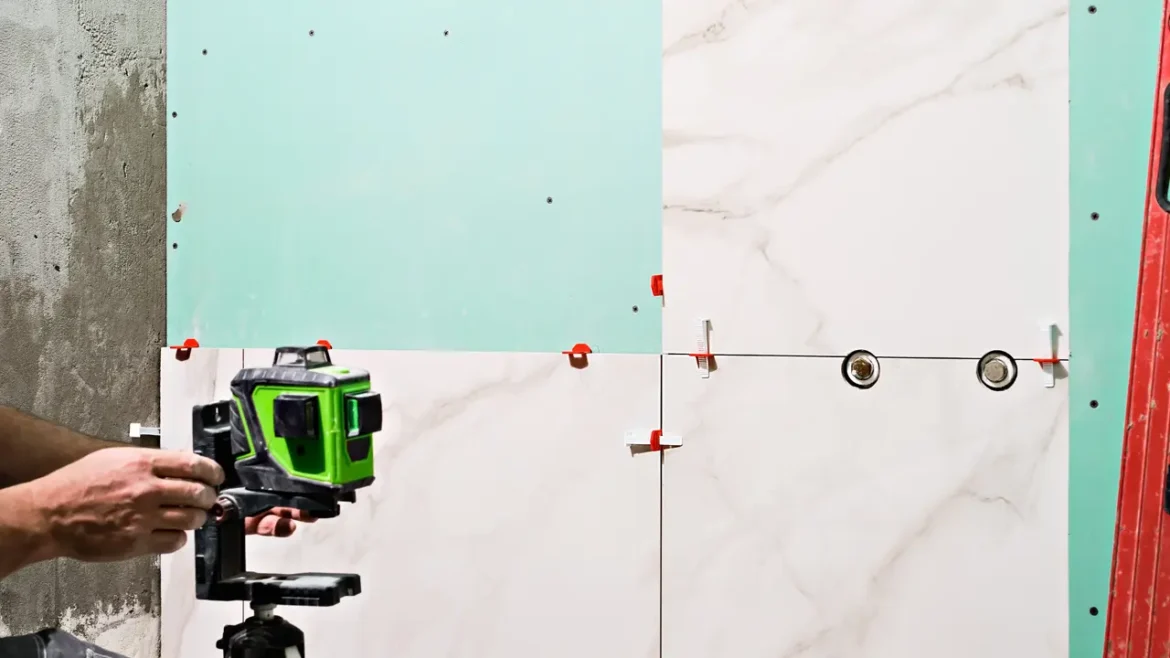
•Double-Check Alignment: Use a level tool to confirm the tiles are perfectly even.
•Clean Excess Adhesive: Wipe away adhesive before it hardens to avoid a messy finish.
Final Thoughts on Tile Leveling
A ceramic tile leveling system is a game-changer for achieving professional, lippage-free tile installations. Whether you’re tackling a bathroom renovation, kitchen backsplash, or large commercial project, this tool ensures a flawless result every time.
Invest in a reliable tile leveling system and enjoy the satisfaction of perfectly aligned, stunning tiles.